Saturday, April 18, 2015

Hickory Smoked Beef Brisket

My wife is pregnant. She is very, very, pregnant... There is a lot of upsides to that. First of all, that means I'm going to have a second child very soon, and then, it also means we have to stock up the freezer with good smoked meats of all kinds to be ready for the first couple of tough weeks where we won't sleep much and won't have time to prepare any good food. Might as well have a lot of good food ready ahead of time! A brisket sounds like a perfect idea to get a large amount of meat stocked up and get a nice bar-b-queuing day!


A couple of months ago I tried to do a brisket with the multiple steps with aluminum foiling in the middle and the change of temperature. I found the end result was a bit dry so I tried something else this time, and it turned out to be a really great and juicy brisket! Here are the instructions:

- Preheat the Big Green Egg to 250 degrees.
- Prepare the rub (Recipe taken here)
- Rinse and dry the brisket with some paper towells.
- Put the brisket on some plastic sheets, that will later be used to wrap it
- Apply the rub on the brisket in the direction of the meat fibers and rub until you feel that the rub is getting inside the meat.
- Wrap the whole thingin plastic sheets and put in the fridge for the night
- I like to prepare my charcoal for my fire the day before so that I'll be able to start everything very quickly in the morning, this way I'll be able to enjoy the brisket for diner if I got up early enough.
- Start fire, let it go up to 250
- Add wood chunks (not soaked), add a handful of chips too, they complement each other well. (I did hickory chunks and apple wood chips this time). Using 3 good chunks of hickory
- Add plate setter, legs up
- Add a drip pan, half filled with water on the plate setter
- Add the grill on top of all that
- Close the dome, and wait until the temperature stabilize again at a good 250 degrees
- When its stable for 15 minutes, add the meat on the grill so its directly over the drip pan, and dont forget your thermometer in the thickest part of your brisket
- Let it go until the internal temperature of the brisket indicates 185 degrees. You will notice around 160 degrees the temperature will stop moving for a good while, that's perfectly normal. It might even go down back to 150-155 and then start going up again.
- After a good 13 hours in my case, I got the brisket out, wrapped it in foil and let it wait for about 20 minutes before I started making thin slices out of it.
- Everyone was pretty happy about the result, and we still have a lot frozen to enjoy later :-)


Saturday, February 14, 2015

Cajun Style Pulled Pork

It is now the time for my first overnight cook. I thought, what could be better with the Superbowl than a pulled pork smoked for 24 hours? I'm feeling confident with my new DigiQ DX2 that I can achieve a 20 hours of stable temperature of 220˚F without a problem.


Preparing the meat
That is quite simple, I didn't go too complicated. I just got my two Boston pork butts (that are in fact shoulders.. I never really understood why we call them butts if they are in fact shoulders.. Anyways..) and I've used that Cajun Style rub on them about 3 hours before my cook. I like my meat to keep together very well and be easily manipulable on the grill, so I'm using some cotton butcher rope to attach it all together and make it a nice bundle (Actually two bundles in that case!)

If you have access to the inside of your shoulder, open it a little and put some rub inside before putting your rope on it.

It is very easy to freeze cooked pulled pork if you have a food saver or anything that can suck in the air in individual packs. Might as well do a LOT of meat if you are going to cook overnight... Well, thats what I tell myself. For that cook, I prepared two butts of 8.5 pounds each, it is quite important to ask your butcher to prepare them so that they have about the same size because you'll be using a temperature probe in only one of them.

About one hour before your fire is ready, get your pork out of the fridge, and add some more rub on it, don't worry, it won't be too tasty no matter how much rub you put on it, it will just taste even better and let the rub get in that meat further.


Preparing the cook
I'm building a fire with the big pieces of Rockwood lump charcoal at the bottom, followed by medium / small pieces and I make sure my firebox is quite filled so I'll be able to cook for 20 hours without needing to add more in the middle. Up to now, after trying several other kinds of charcoal, this is by far my favorite. It lights up easily and it tastes so good.

Some people want to achieve their cooking temperature very slowly to make sure their fire isn't out of control, but I found that on my side I prefer starting a bigger fire even for low and slow cooks, and reduce it quickly when adding the plate setter as well as the grill and the meat. Adding all of this drops the temperature quite abruptly, and I find that having a bigger fire at the beginning helps at getting a stable temperature for a long time. So, I'm aiming for 300˚F with the vents open to start with, and when I'm achieving this temperature, I'm adding wood chips of pecan wood that were soaked for about 30 to 45 minutes before as well as the plate setter legs up and a drip pan, filled with about half an inch of water to keep the humidity in there and have a very  tender and juicy meat at the end. As soon as I do that, the temperature drops back to about 160-170˚F. That is the time where I start my DigiQ DX2 temperature controller already all setup to start controlling that temperature, and I close the top vent to keep only a small crack opened.

About 30 minutes later, I have a stable fire at 221˚F, and I let it stabilize for about 30 minutes before I put my meat on, I want to make sure it won't go crazy.


Now... The hard moment to say goodbye to your meat for the next 20 to 24 hours and its time to close that lid, and DON'T OPEN IT FOR THE WHOLE COOK TIME!


Middle of the night temperature check
I was very worried since this was my first overnight cook that something was going to go wrong, so I've decided to set an alarm at 3am to go check on my precious pork. It was a very good decision I did so because the fire was starting to go out at this exact moment and the temperature was dropping really quick. I had to open the BBQ in the middle of the night, remove the pork, and add a lot of charcoal. Fortunately for me, I had 3 lumps of charcoal still lit up so the new charcoal was able to burn and my DigiQ was able to get back the temperature exactly where it was supposed to be. The lesson here is to make sure you have a LOT of charcoal in your initial fire and that you do not reuse old coal that was still there from the previous cook because that charcoal burns a lot faster than brand new one.

Superbowl day, February 1st 2015, the pork is ready.
Its time to get the pork out of the BBQ when its at 200˚F. At this time, it has been exactly 24 hours, 8 minutes and 40 seconds since the beginning of the cook. I think it could have been less than that if I hadn't run out of charcoal in the middle of the night.


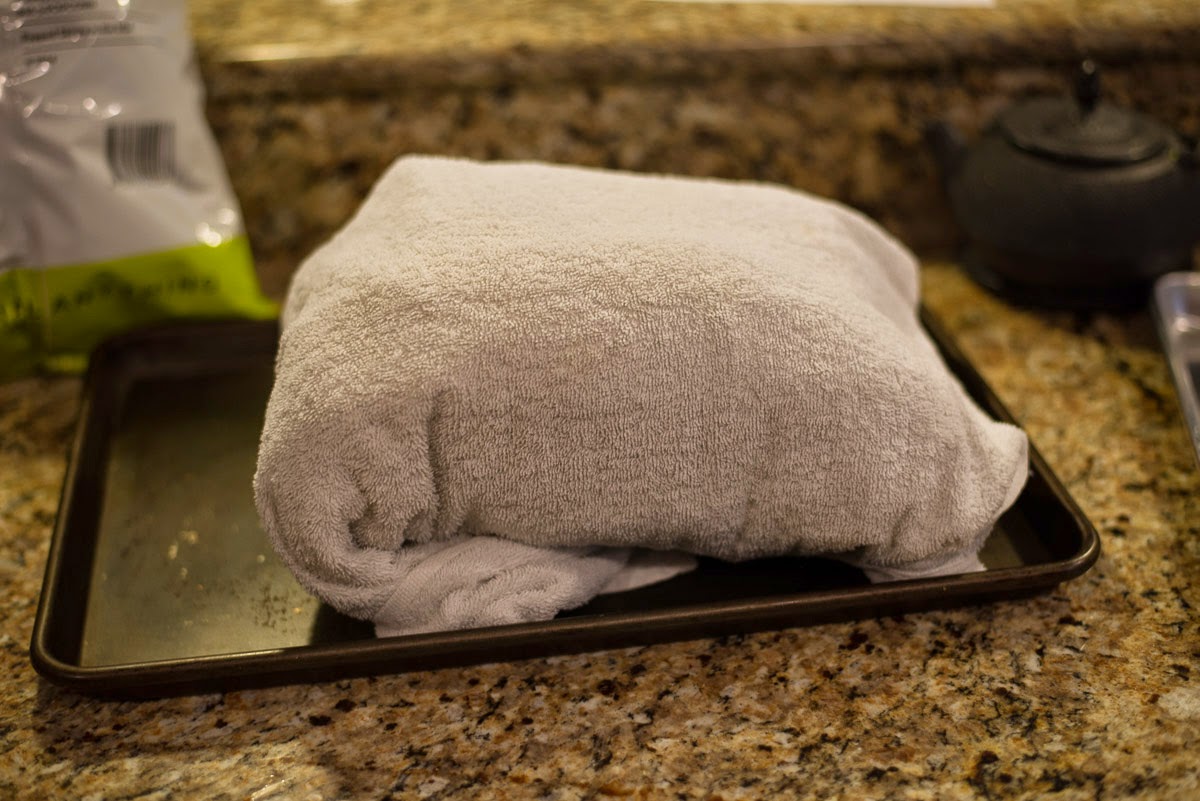
You can now wrap this pork up in double sheets of aluminum, and then wrap that wrapped pork in towels to keep it hot, and then just store it in a cooler. The pork can stay in there between 1 and 4 hours without an issue. You'll see even after 4 hours, it will still be burning hot if you wrapped it correctly.


Pulling the pork


Eating the pork
Well, I don't have much to say here. I've bought some jalapeƱos, red onions and normal white hamburger buns. Don't go too fancy on the bread, the goal is to taste the meat, not the bread! Choose your favorite BBQ sauce, assemble all of this and eat until you can't anymore.


The remains (if any?)
If you have something like a food saver, you should use it! You just store it in bags of about one pound each and freeze it. When you want to use it you just have to put it in very hot water and it becomes the perfect temperature to do more sandwiches.


Saturday, January 31, 2015

Smoked Steelhead

That was my first experience smoking some fish. I had some steelhead lying around in my freezer and really wanted to do a low and slow cook.

The first thing I did is to cure that fish and let it wait in the refrigerator for the night. The brine recipe I used was very simple and was not the point of the experience here. I went with a very standard mix of dark brown sugar, kosher salt, crushed garlic and black pepper. I've applied very generous amount of the brine on the fish, wrapped it in double plastic wraps and placed it in a pan in the refrigerator for the night. You should have it cured for at least 8 hours according to my research.


Brine recipe:
- dark brown sugar (1 cup)
- kosher salt (1/2 cup)
- crushed garlic (4 cloves)
- black pepper (2 Tbsp of black pepper)

In the morning, I've unwrapped that fish and rinsed it to remove the largest part of the brine. (that is up to you, but I would find it way too salty if I wouldn't rinse it). Put it back in a pan without anything else on it directly in the refrigerator for the next 2 or 3 hours and start preparing your barbecue for a long cook, building your fire carefully with the biggest pieces at the bottom and making sure it's clean enough.

I was able to keep the temperature between 180˚F and 200˚F for the whole cook, which lasted for about 8 hours. There is no perfect amount of time here, it  really depends on how you like your fish smoked. I saw some people smoke it for as little as one hour, and some go crazy and smoke their fish for a full twenty hour. You'll have to experiment and find out what you like!

Personally I think that my 8 hours cook was a little too long even though it was pure goodness when we ate it, I think it could have been cut in half and be a little more juicy and tender.

Here is how it looked coming out of the egg
The skin of the fish that I left purposefully on came off the fish just by pulling with two fingers and it was smelling so good I was drooling.


We served this with some salad, some cheeses and a good Chardonnay from Chateau Ste-Michelle. We will most definitely do that again, but next time, I'll make a much bigger quantity now that I know it is that good. Once smoked, the fish can be kept for a very long time in the refrigerator without turning bad.


Friday, January 2, 2015

The Greatest Gifts for Christmas

My wife is so awesome, she gave me a DigiQ DX2 BBQ Guru for Christmas as well as the Smokeware stainless steel vented chimney cap so I can cook under the rain. That's pretty much a prerequisite to owning a Big Green Egg in Seattle if you want to be cooking all year long like I do. 

As soon as I got it had to use it even though I didn't have any thing in hands to slow cook, I just made a meat loaf and put it in my dutch oven (this one is perfect for the Large version of the BGE by the way, and much cheaper than the one sold by BGE), with the indirect plate setter at 225˚F for 4 hours. That is pretty much the equivalent of using a crock pot at the "High" setting. It does the exact same result, but if you want to add a little smoky flavour to your food, you just start with the lid open for the first 30 minutes and then you close it off for the rest of the cook. 

Setting up the DigiQ was a breeze and I really don't have anything to complain about. I watched this video and read the instructions to make sure I wasn't doing anything wrong. The temperature got to 225˚F in about 30 minutes and it kept at this temperature without moving a single degree for four hours. I was truly impressed. There is only one thing I wish I would have known without needing to search that much and it was how was I supposed to open the top vent when cooking. The answer is pretty simple: just open it as you would normally open it without the DigiQ DX2 controlling the temperature, so if you want to make a slow cook, keep it almost closed, and if you want a higher temperature set it to whatever was needed before you were using the DigiQ. For my meat loaf since I wanted to keep it at 225˚F, I just kept it closed except for when I was lighting the fire for the first 10 minutes until my fire starter finished burning.


While this was cooking, I prepared some ribs I had bought at Costco that I had unfrozen as soon as I opened the great gift on the previous day. I just followed those simple instructions from necessaryindulgences.com - Baby back ribs recipe. I wish I could say the process was as straightforward as for my meat loaf, but I forgot an important thing... I forgot to open the damper on the pit blower which really screwed up my start up. I was wondering why the temperature wasn't going up for a while and I was confused until I went back and checked my settings to realize I didn't open the damper! There was basically no air going in the egg except from the top vent, which really didn't help. When I opened the damper, the DigiQ was quite messed up and started blowing crazily without taking breaks, which caused my fire to go berserk. After that, it was very difficult to keep the temperature stable, but the DigiQ was still able to keep it oscillating between 240 and 270 which isn't that bad, it was just not as precise as the previous day.

As a side note, know that the DigiQ DX2 is made to be weather resistant, but not water proof, you have to be a little bit careful about rain and protect it a little. On the ribs day, it was pouring rain and I just put some Ziploc bags on the DigiQ controller as well as the connexion to my electric extension so it doesn't catch any water. I've also just added a little bit of aluminum foil on top of the pit fan blower to make sure it didn't get too wet, and voila, I had a perfect rain proof setup. Here is a very bad picture of the setup I just took. Even though its freezing outside and raining, I am currently cooking some potatoes and sausages for dinner and its being very stable at 350˚F.


Next posts are going to be about recipes I'm trying with photos, but for the moment I really just wanted to talk about my first hands on experience with those new gifts of mine!

Cheers!